Nail Art Tutorial - Tape Manicure
So I finally pulled off my first successful tape mani! I tried almost a year ago a couple of times, and they were huge nail fails so I havent done one since. This technique is using regular scotch tape cut and different widths. I will be trying regular striping tape soon.
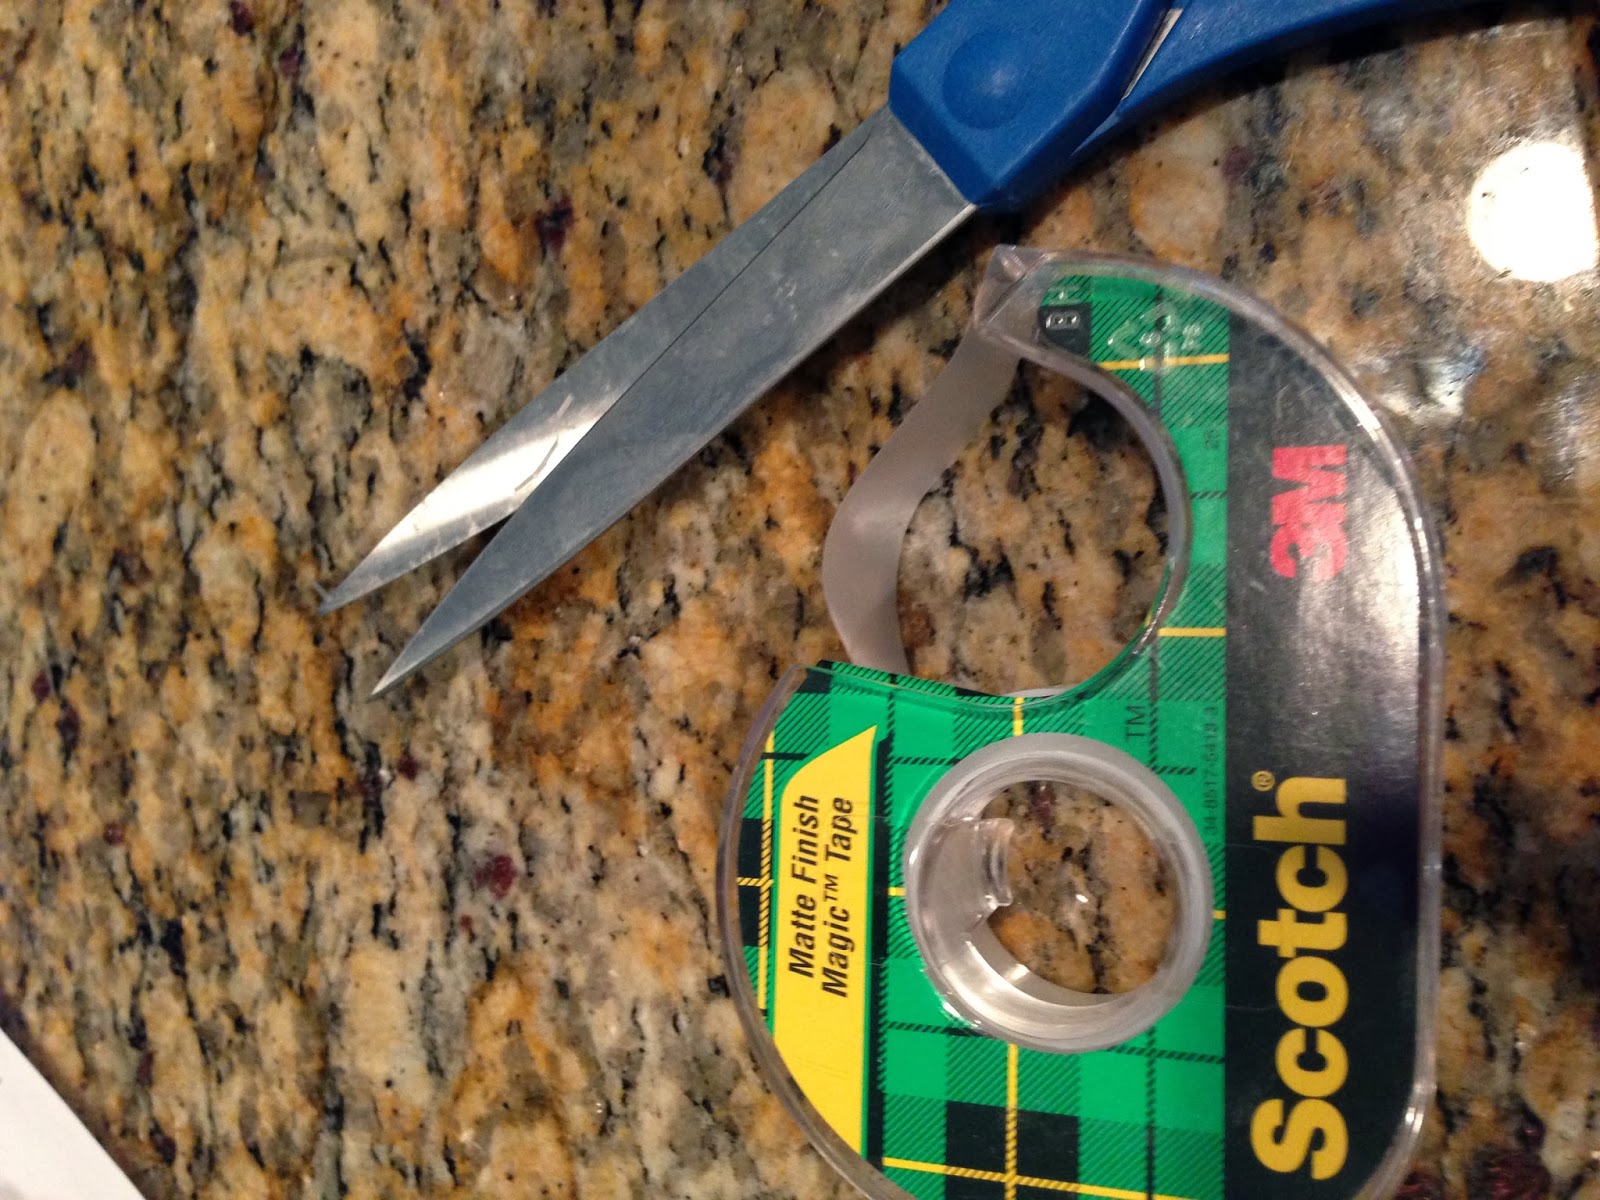
All you need to start with is your colors of choice, tape, and some scissors:
 |
| What you need... |
Step 1: Paint your base color on. For this mani I am using Color Club Halo Hues in "Angel Kiss" What a beautiful color!
Step 2 - 4: Get your scotch tape, scissors and cut away! The strips don't have to be perfect. If you do want perfect lines though you can use your striping tape. Cut as many strips as you need. My piece of tape was long enough to use on 2 nails when cut in half. The 4th picture you will see all the strips ready to be put on my nails.
 Step 5: Apply the tape at different angles to create your design. They can all be a little different, which is what I love about this many. Make sure your first coat of polish is completely dry before doing this! If it isn't when you remove the tape it will take of your polish.
 Step 6: Apply your top color over the tape. I used Orly "Jealous, Much"
 Step 7: Peel off your tape slowly to avoid any pulling off of polish, apply top coat and you are done! I love the effect.


 Step 5: Apply the tape at different angles to create your design. They can all be a little different, which is what I love about this many. Make sure your first coat of polish is completely dry before doing this! If it isn't when you remove the tape it will take of your polish.
  Step 6: Apply your top color over the tape. I used Orly "Jealous, Much"
 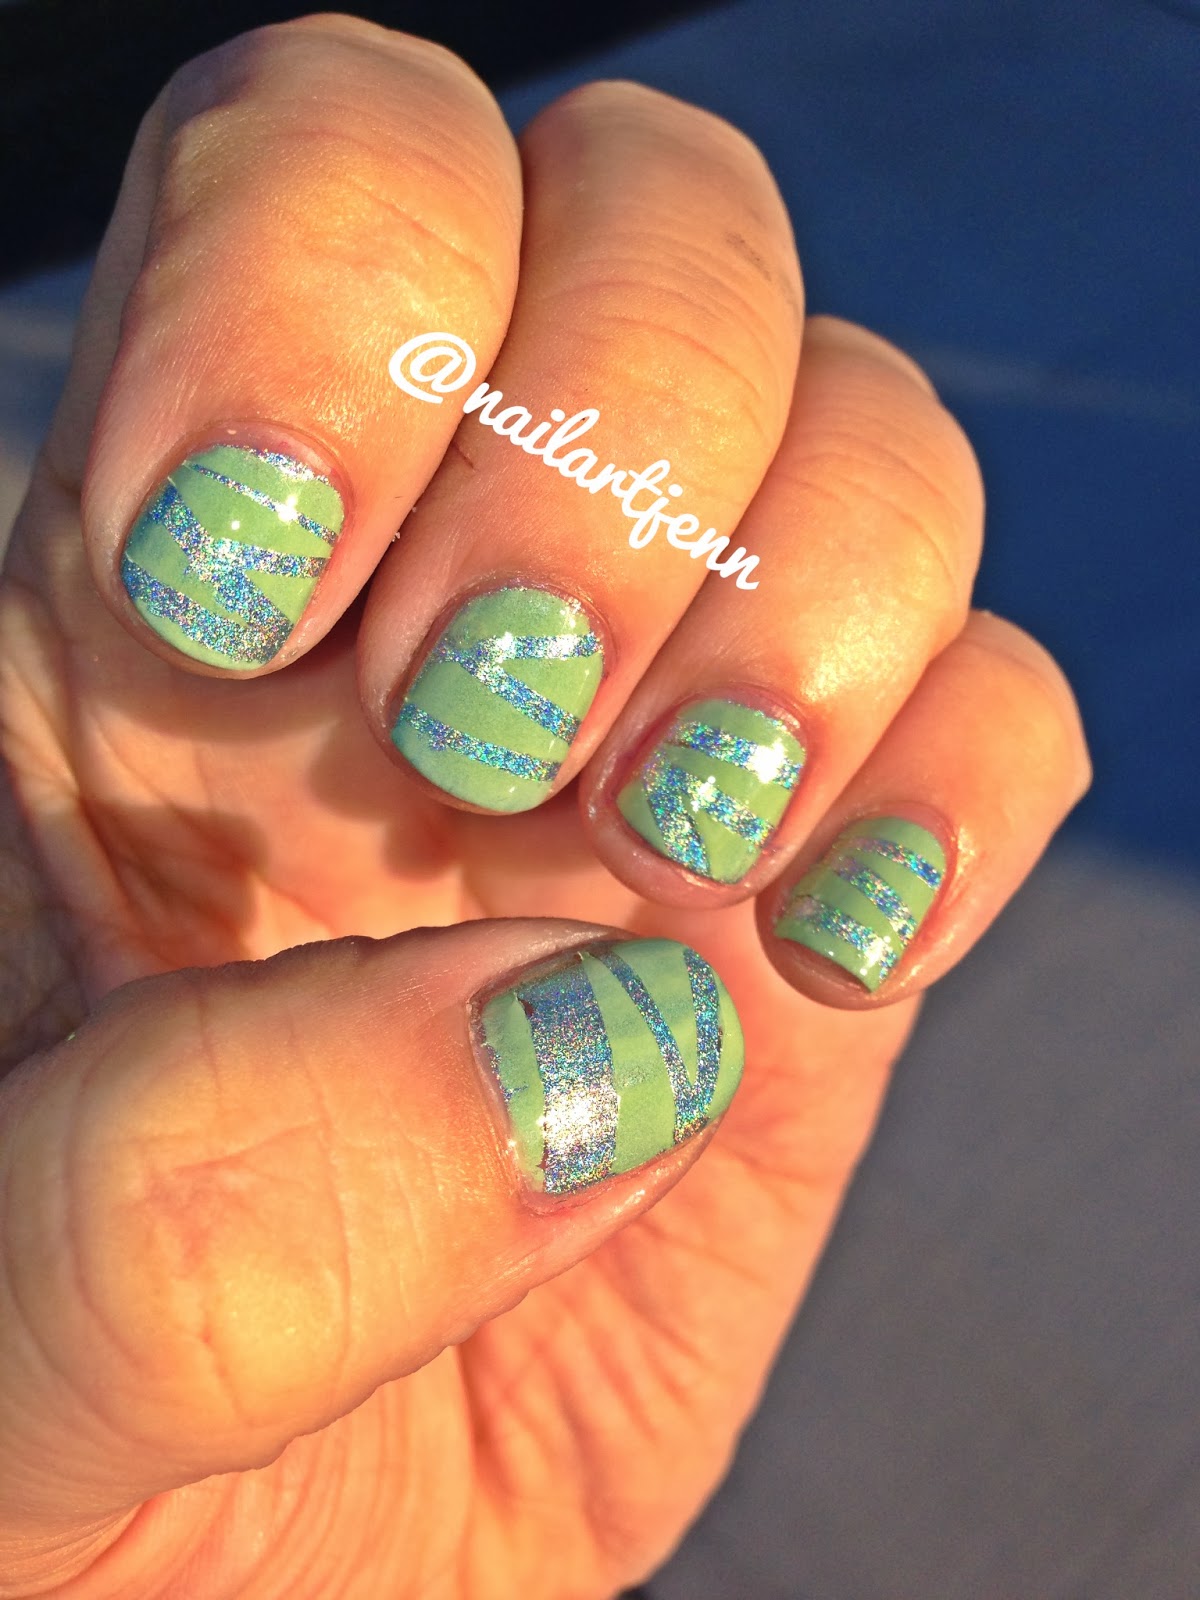 Step 7: Peel off your tape slowly to avoid any pulling off of polish, apply top coat and you are done! I love the effect.
No comments:
Post a Comment