Showing posts with label Tutorial. Show all posts

Tuesday, November 5, 2013

Chevron Nail Art Tutorial

So I have been house / doggy sitting for my boss since Friday last week and haven't had a lot of nail time. My situation - A 6 month old chihuahua / terrier mix, a 5 year old terrier mix, and a 16 year old deaf shi tzu mix. Oh, and plus my 5 year old daughter!
I only brought maybe 20-30 polishes with me out of my 250 some at home. It was hard and I did it so randomly I didn't know what to grab!

Last night I threw on a lovely Orly color called "Luxe". A beautiful solid gold color that is just to die for. I seriously love this color. This is 2 coats although I could have gotten away with just one for my chevron design.
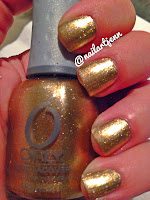


I know there are several ways to do chevron nails. I haven't tried in a while so I wanted to put together a color combo that I thought would really look great against this gold color. I used Essie "No More Film" and Color Club from the Poptastic Collection; it was the purple hued one. It has no name on it.


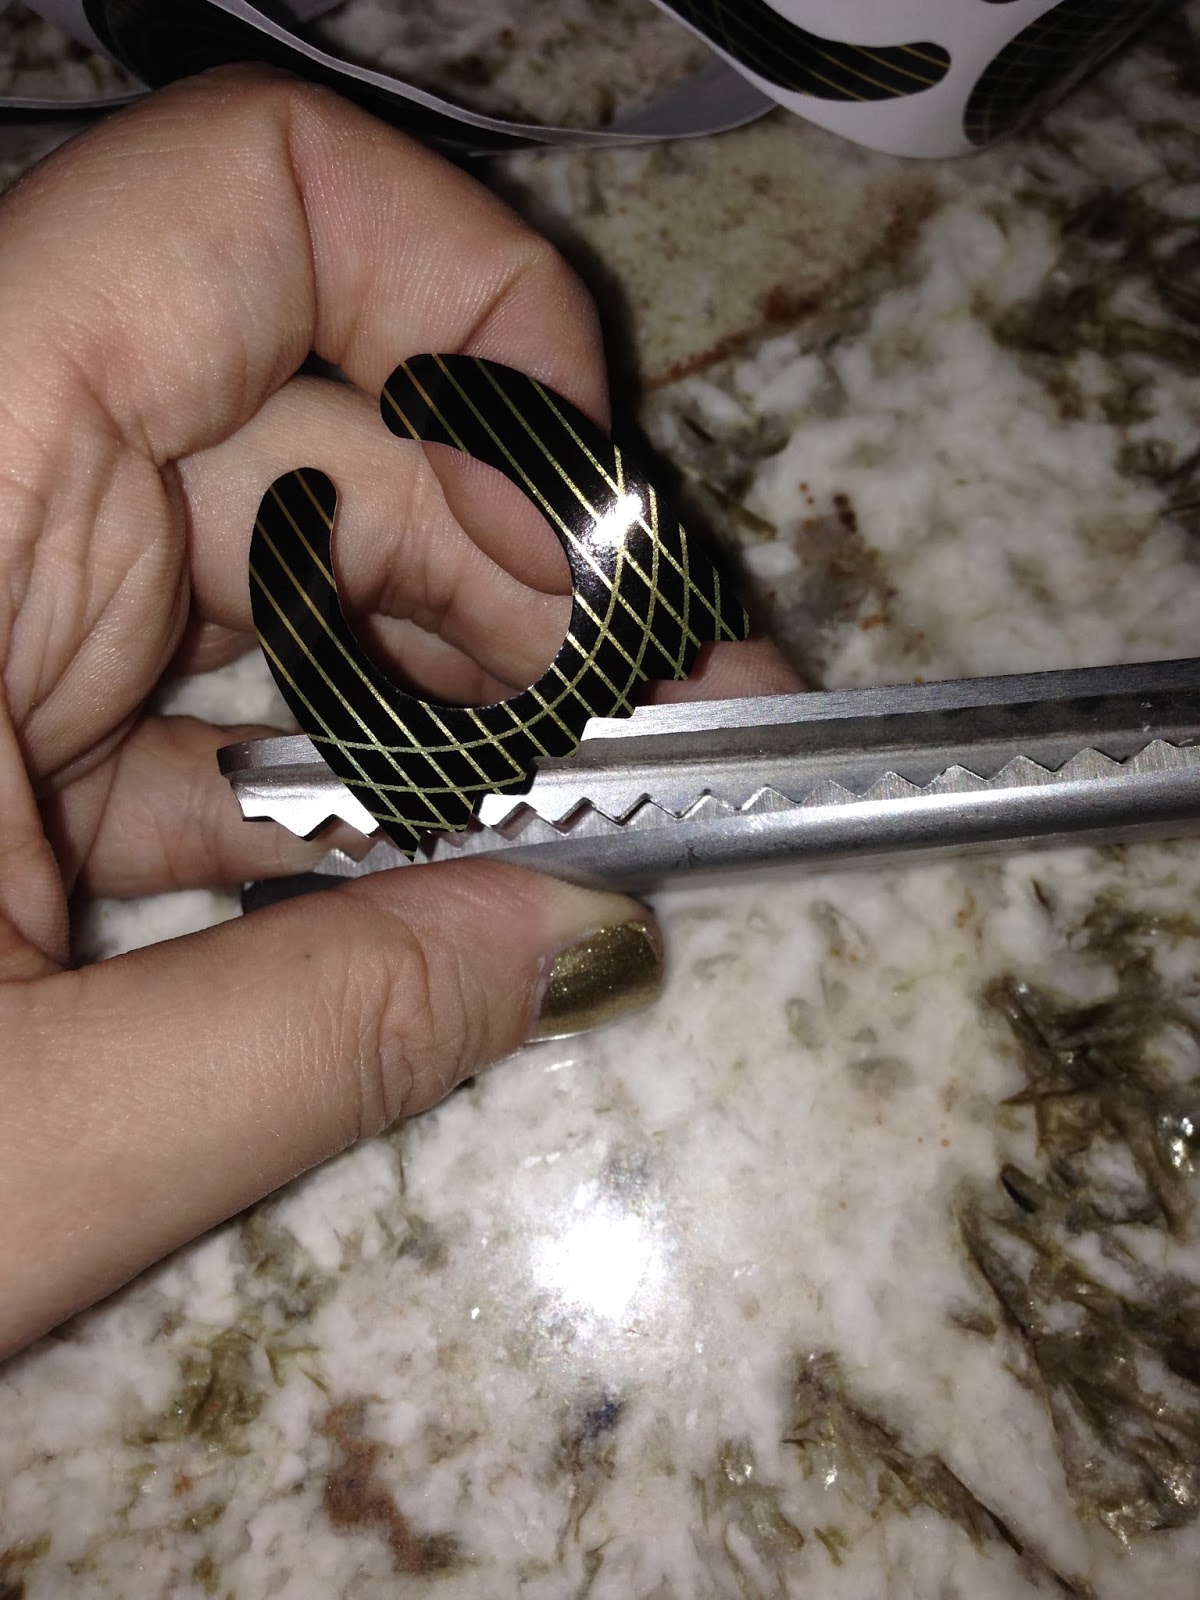
I first took some pinking shears to cut my strips. This is what I find the easiest way to do chevron, instead of drawing the pattern on or using crafting scissors that are sometimes not sharp enough. I
also used instead of tape, my acrylic nail form stickers.


I applied the strips to the center of my nails and painted away. I flip flopped the colors on top and bottom. I kept them the same on my middle and ring, then swapped the top and bottom colors on my pinky, index, and thumb. I enjoyed to out come very much!


Monday, October 21, 2013

Nail Art Tutorial - Tape Manicure

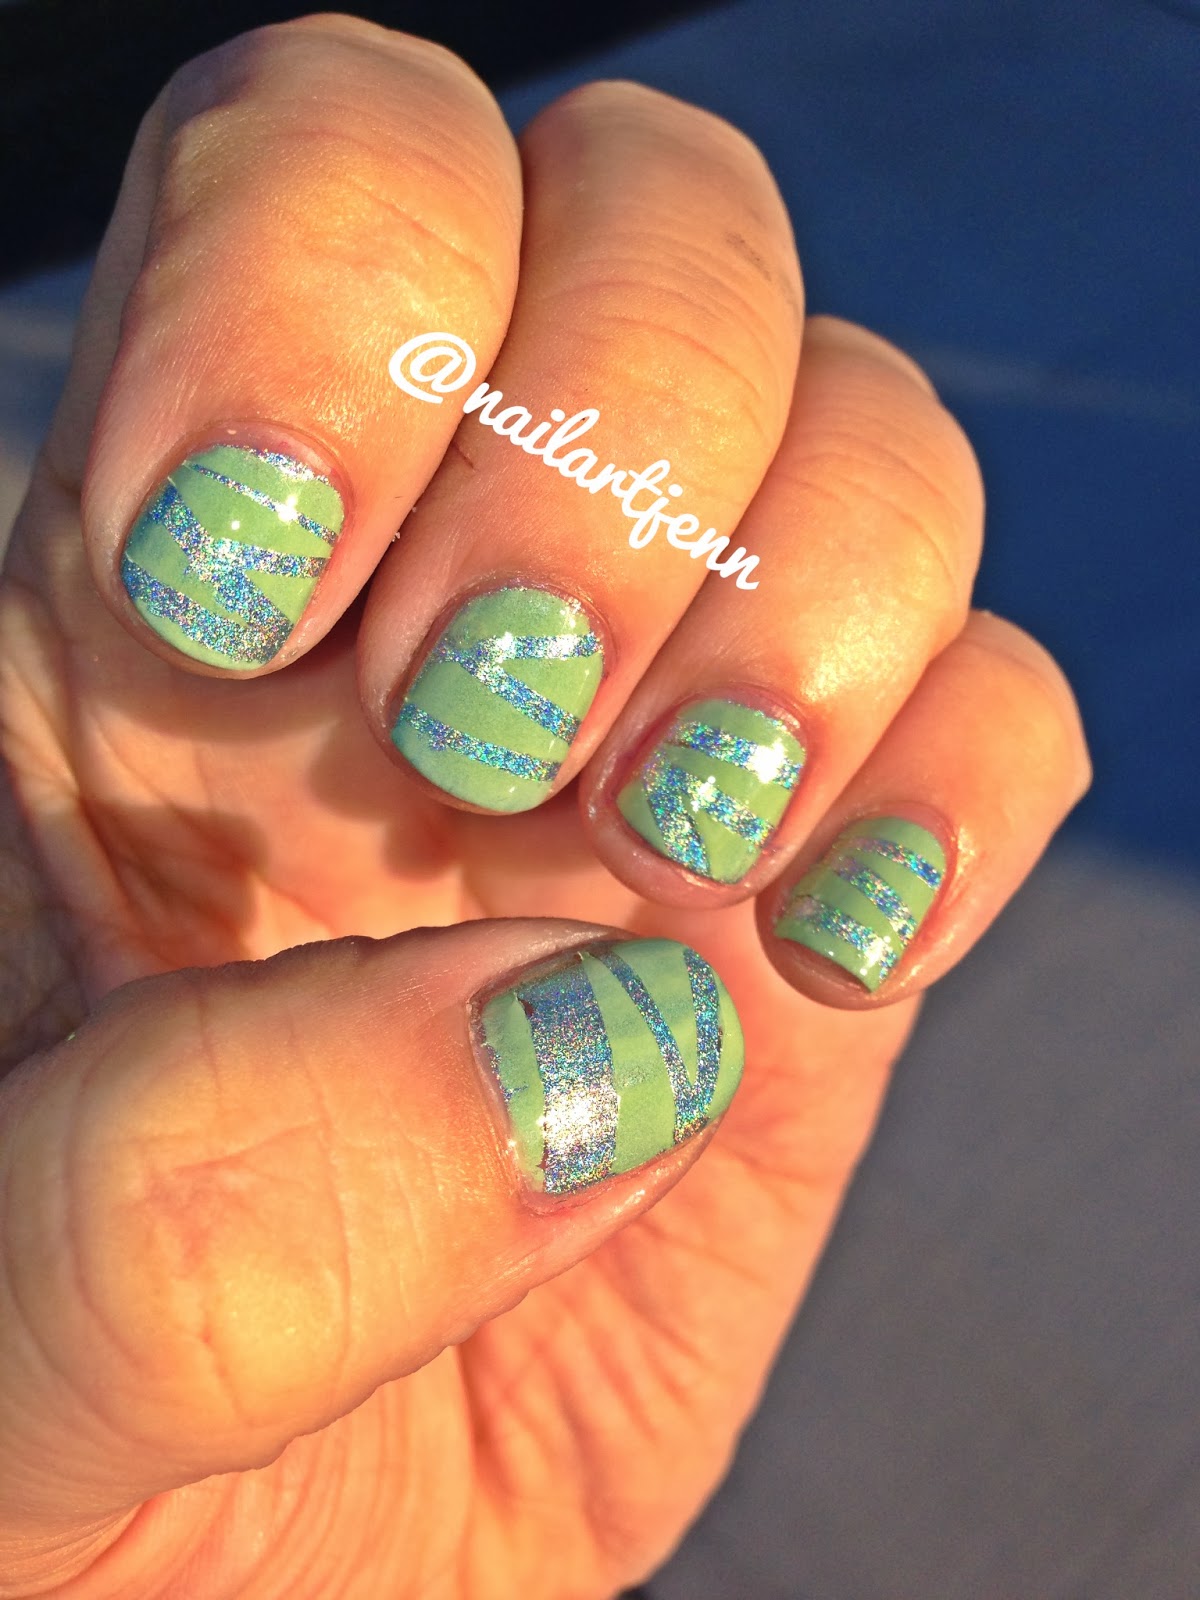
So I finally pulled off my first successful tape mani! I tried almost a year ago a couple of times, and they were huge nail fails so I havent done one since. This technique is using regular scotch tape cut and different widths. I will be trying regular striping tape soon.
 
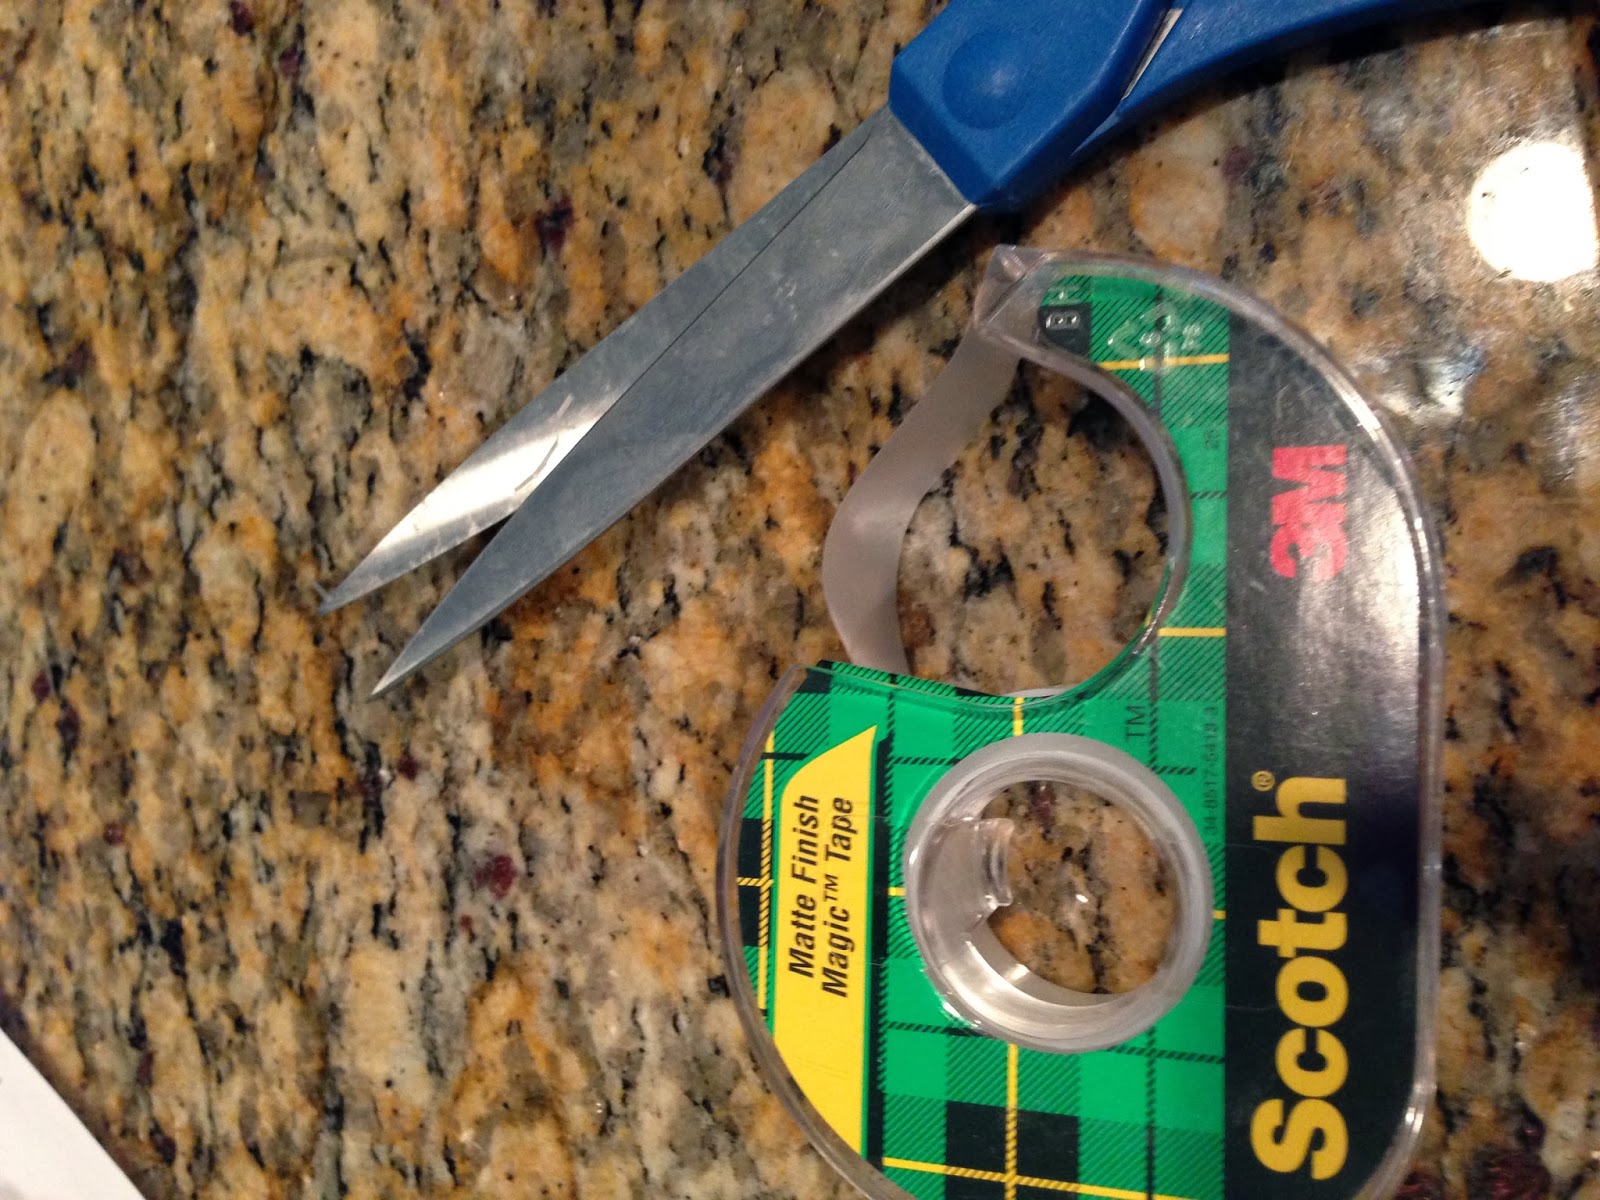
All you need to start with is your colors of choice, tape, and some scissors:
What you need...


Step 1: Paint your base color on. For this mani I am using Color Club Halo Hues in "Angel Kiss" What a beautiful color!


Step 2 - 4: Get your scotch tape, scissors and cut away! The strips don't have to be perfect. If you do want perfect lines though you can use your striping tape. Cut as many strips as you need. My piece of tape was long enough to use on 2 nails when cut in half. The 4th picture you will see all the strips ready to be put on my nails.


Step 5: Apply the tape at different angles to create your design. They can all be a little different, which is what I love about this many. Make sure your first coat of polish is completely dry before doing this! If it isn't when you remove the tape it will take of your polish.
 
 
Step 6: Apply your top color over the tape. I used Orly "Jealous, Much"


Step 7: Peel off your tape slowly to avoid any pulling off of polish, apply top coat and you are done! I love the effect.


Wednesday, October 16, 2013

Nail Art Tutorial - Simple Bow Manicure

I created this mani a few days ago and decided to show how easy it is to recreate it!
Step 1 - find a base color. Make sure it is light enough for a top color and black to go over. 
Step 2 - this shows my colors and the teeny tiny brush I used to trace 
Step 3 - if you have ever done a cloud mani this will be well understood. Start about half way up the nail, paint a line down
Step 4 - take the next line about half down from the first on step 3. It looks kinda of like a heart on its side 
Step 5 - take your fine brush and trace the top of the heart
Step 6 - take your fine brush and make two oval shapes under the middle of the heart. Add a colored dot in the middle. Topcoat and done!

Tuesday, October 15, 2013

Ombre Nail Tutorial

I know there are a TON of Ombre Nail Tutorials out there for the masses. I just wanted to add mine to the bunch as well. I love doing Ombre and I think it is a quick design to do but you get a great outcome!

Step 1 - Paint your nails white, or a light color like nude. I have used a nude a few times and got a more neutral or toned down look

Step 2 - This is just genius! Who ever came up with this should earn a medal or something :) Take your everyday triangle makeup sponge, put your colors on that you want to use for your ombre (I do 2 or 3 - my nails are short so I usually can't fit more than that)

Step 3 - Align the sponge on your finger, dab once, take a peek and make sure all is still even then apply your colors again like in Step 2, have a dabbing party...until you reach your desired colors. You may need to do Step 2 a few times

Step 4 - That is just show you what I got after I reached the desired color.

Step 5 - Take a nice strong angle brush, I get mine at Hobby Lobby. Pour some remover into the cap, or small bowl. Dip into the polish remover and go around the skin and nail to remove the mess

Step 6 - Throw your topcoat on and you are good to go!

I have also started using the horsehoe nail form / stickers and put them around the base of my nail to eliminate some mess / clean up. I get them at Sally's on a big roll. Super cheap.