Showing posts with label Orly. Show all posts

Sunday, July 20, 2014

Review - Born Pretty Store Water Decals

Hey nail lovies! What's shakin?

Born Pretty Store sent me a few things to review - 3 different water decals and some cute acrylic bows! 

Today I am going to try one of the water decals - the cool bright psychedelic looking ones! I have never tried water decals before so bear with me friends! 
Here are the colors I chose (not picutred is white) 
I wanted to choose colors that are in the design as well as different enough to see if it made any difference to the decals once applied. I painted each nail a different color and waited for then to fully dry. This first time I am not applying a top coat to the colors before applying the decals. The next one I review I will apply before the decals. 
Ok side note my cuticles look like dry death but I am not done with the mani and I haven't oiled and moisturizer today! Don't judge - ok you can a little bit but the finished product will be soft and smooth 😃

So the instructions are pretty basic:
- Clean your fingernails and apply a base color, let base color dry
- Remove the protective film and cut out the desired pattern. 
- Put the pattern in water for 10-20 seconds 
- Moisten the fingernail and stick the pattern into position
- Sop up the extra water with a paper towel 
- Seal with top coat 

Ok here goes nothing! 
And I will say I did it wrong on the first go around! You are supposed to peel the backing off and then place the decal. This is not like a temporary tattoo.
I peeled off and it was white with the design face down! Oops! Here we are again. Onto the next nail! 
 Ok much better! They just slide right off the backing onto your finger and you can tweezers, or nippers or like I did an orange stick. 
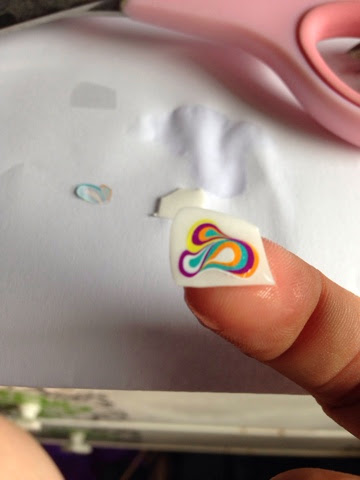
The decals are very pliable, and easy to work with once they slide off the backing. You don't have to rush and as long as your base color is dry you can even move it around. Very cool! I went ahead and added some dots after the finished product. 

I really like the finished product. The base color doesn't matter to the decal whatsoever. That is definately nice because the color you see is going to be the color on the nail. This watermarble like pattern is super fun and there are additional designs in the paper so many more manis can be done. The directions lacked where you are supposed to take the back off yourself then place the decal. But once I figured out it was easy from there. They do not dry or garden up quickly while removing and placing on the nail with an orange stick which I also loved. It was nice to be able to manipulate it. If they aren't completely smoothed out over your nail or have slight wrinkles the top coat smooths that out.m evenly and quickly. I can't wait to try my other decals now! 

You can get these and many other products at www.bornprettystore.com and you can use code NNG10 for 10% off your order!! 
Check Out the Born Pretty Store now!


Tuesday, November 5, 2013

Chevron Nail Art Tutorial

So I have been house / doggy sitting for my boss since Friday last week and haven't had a lot of nail time. My situation - A 6 month old chihuahua / terrier mix, a 5 year old terrier mix, and a 16 year old deaf shi tzu mix. Oh, and plus my 5 year old daughter!
I only brought maybe 20-30 polishes with me out of my 250 some at home. It was hard and I did it so randomly I didn't know what to grab!

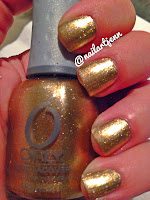
Last night I threw on a lovely Orly color called "Luxe". A beautiful solid gold color that is just to die for. I seriously love this color. This is 2 coats although I could have gotten away with just one for my chevron design.


I know there are several ways to do chevron nails. I haven't tried in a while so I wanted to put together a color combo that I thought would really look great against this gold color. I used Essie "No More Film" and Color Club from the Poptastic Collection; it was the purple hued one. It has no name on it.


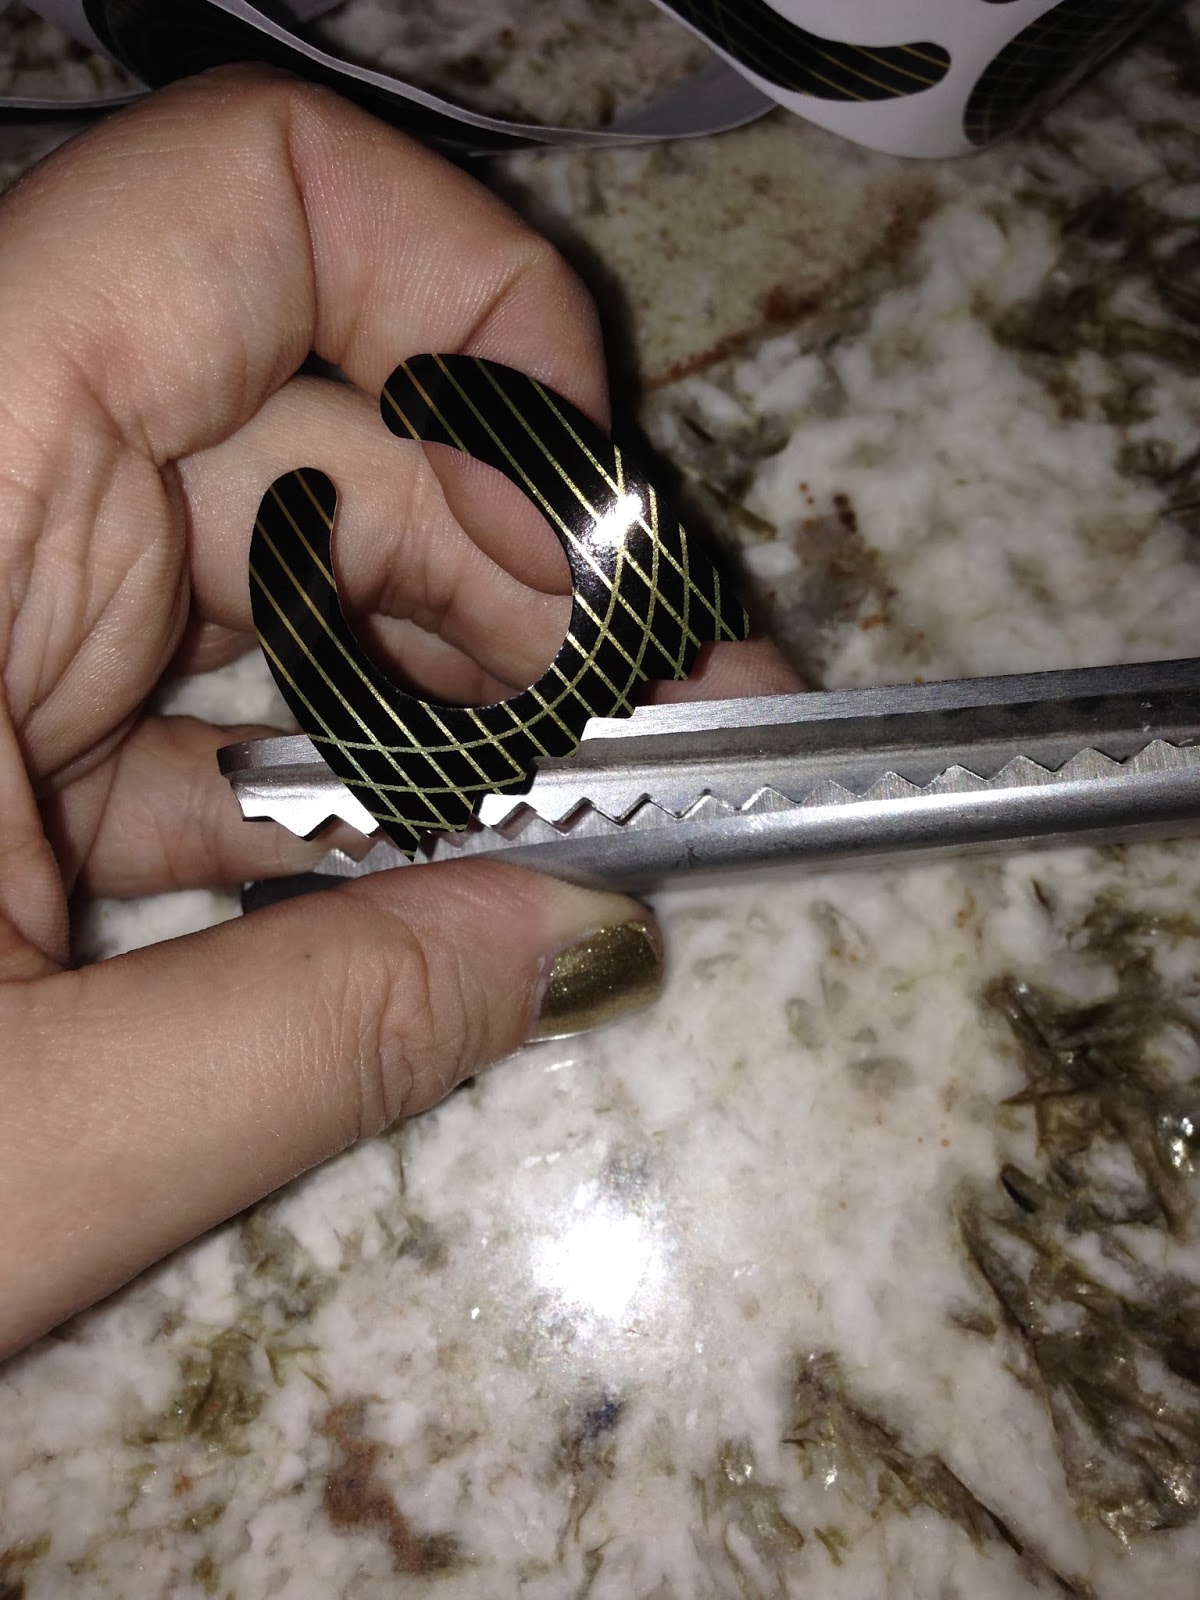
I first took some pinking shears to cut my strips. This is what I find the easiest way to do chevron, instead of drawing the pattern on or using crafting scissors that are sometimes not sharp enough. I
also used instead of tape, my acrylic nail form stickers.


I applied the strips to the center of my nails and painted away. I flip flopped the colors on top and bottom. I kept them the same on my middle and ring, then swapped the top and bottom colors on my pinky, index, and thumb. I enjoyed to out come very much!


Wednesday, October 30, 2013

Product Review - Orly Matte FX Flake Top Coat

Recently I reviewed the Orly FX Matte Polish and I really enjoyed the outcome, unfortunately the Flake Top Coat is not a great outcome for me. I am not sure if it was the base color that was wrong to try out or it is just the product.


I first chose a solid base color with no extra shine or shimmer - Orly "Harmonious Mess"


This is a color that I have had for a while now and not used yet. I thought this color would offset the flake topcoat well. Here is a swatch:


This is actually a really pretty color. It is grey / purple and looks really great against my skin tone. I don't know why I haven't used it before but it is probably because I just have so many polishes.
 
Now for the application of the Orly Matte FX Flake Topcoat. I applied 1 coat to my right and 2 coats on my left.
 
 
Top is Left and Bottom is Right
 
The lighting is not great I am sorry about that but I will post a pic at the end of this to show you better.
 
In my opinion, the top coat is not great. I like the concept of having that matte look with little multicolored flakes. It reminds me of ice on the ground with the little flecks of color.
 
This morning I woke up to look at my nails. They had a brown tinge to them. I am thinking it was the color I used as a base mixed with the "Green" Flake Topcoat but upon application the green really was clear almost. And my nails have bubbles in them.


Those black dots are bubbles, and are not part of the polish. Also the yellowish coloring of the flakes can also be seen. Again, the idea and concept is nice, but I am not sure about the product quality. I do however want to try this at least one more time on a different base color to see if that makes any difference in the outcome.


Sunday, October 27, 2013

Product Review - Orly Matte FX Polish

Each time I have gone into my local beauty supply stores like Sally, Ulta etc I see the Orly Matte FX and Matte FX top coat. I finally picked up Iron Butterfly the black / steel colored lacquer and Green Flakie Topcoat. I will be discussing the topcoat in a separate post.

It sparked my interest because I am going to a Halloween party today and I am dressing up as a raccoon :) I thought it would be a good color to go with the costume. 
I put on the first coat and noticed on same nails that if I didn't apply enough or too much that it wanted to come off with additional strokes. I did leave it alone after I saw that and moved on to the next figuring the second coat would be better. The polish is also thicker than a regular polish. I almost felt I had to hurry with the application. After the second coat, it went on much easier. I thought this polish was also textured like the Sugar Coat polishes or something similar. It actually is not it is smooth. It just has small glitters in it and reminds of a gunmetal. I actually really like it. I did not put a top coat on bit I suppose you could to take away some of the matte look. It's like 2 polishes in one :) here is the finished product.