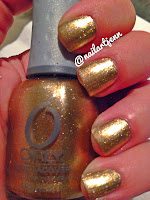
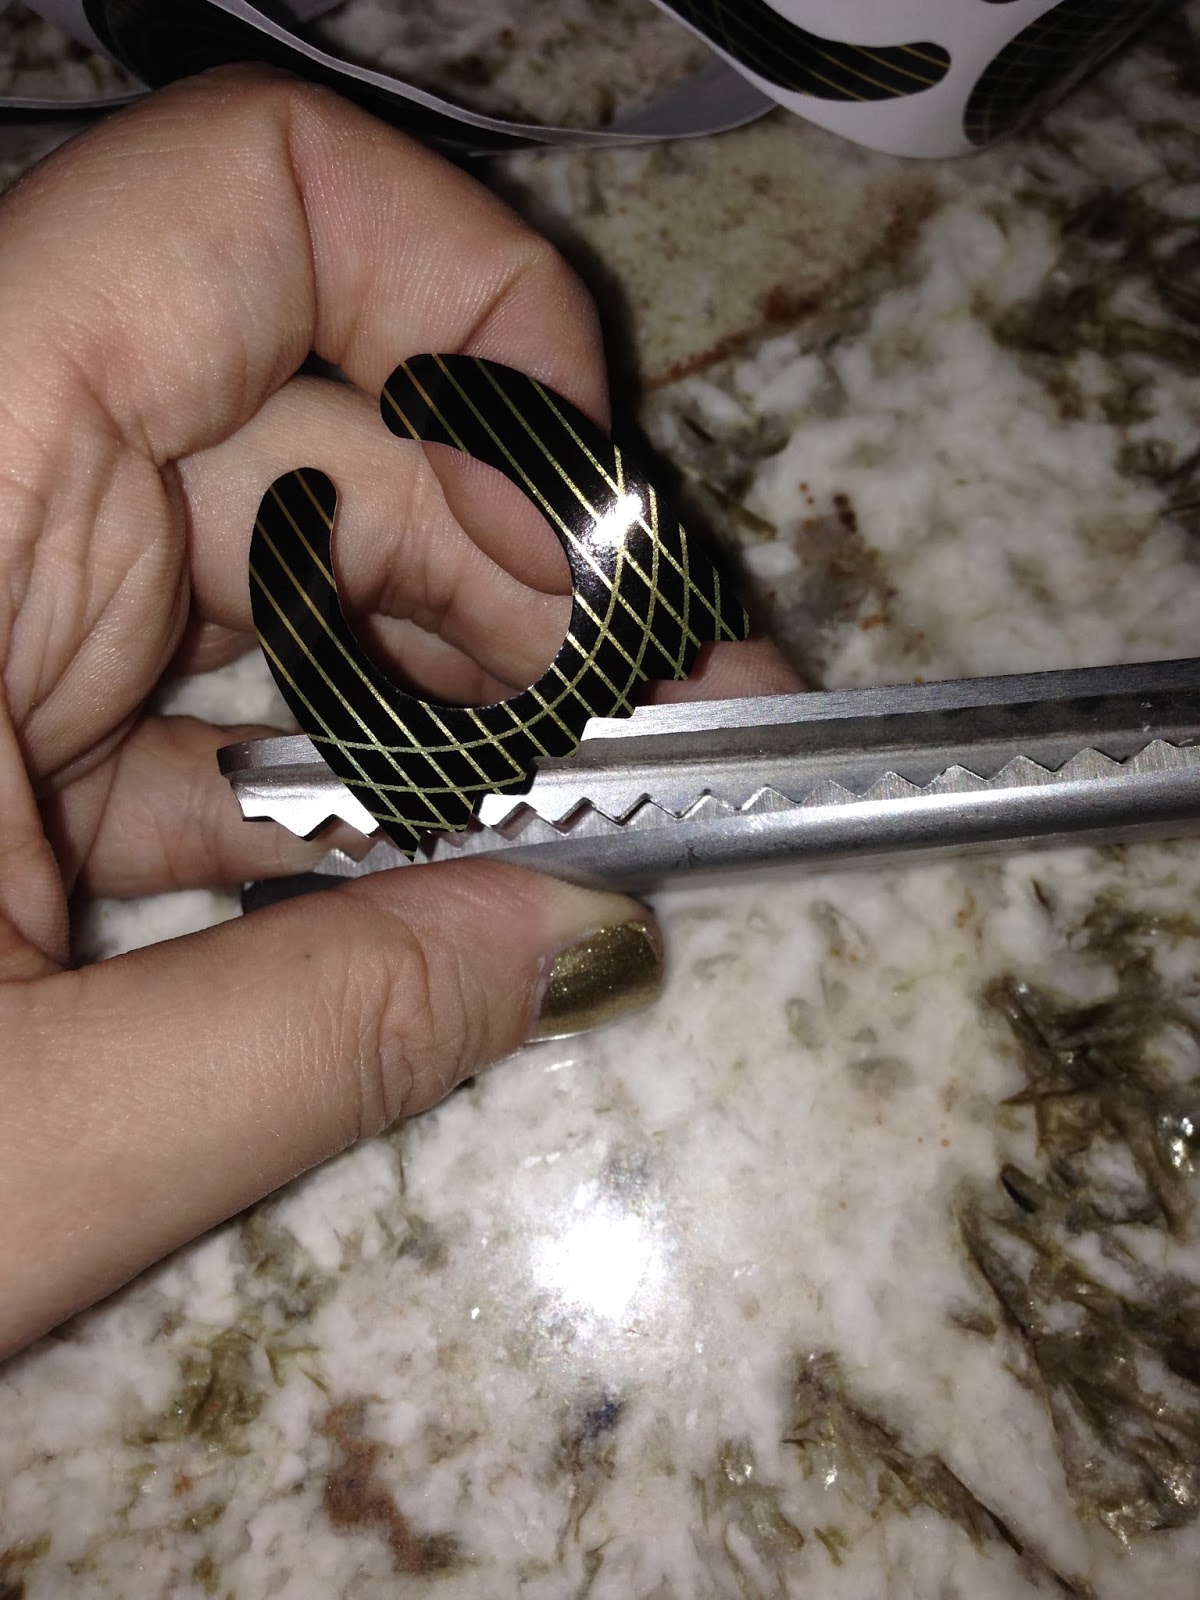
Born Pretty Store sent me a few things to review - 3 different water decals and some cute acrylic bows!

Today I am going to try one of the water decals - the cool bright psychedelic looking ones! I have never tried water decals before so bear with me friends!
Here are the colors I chose (not picutred is white)

I wanted to choose colors that are in the design as well as different enough to see if it made any difference to the decals once applied. I painted each nail a different color and waited for then to fully dry. This first time I am not applying a top coat to the colors before applying the decals. The next one I review I will apply before the decals.

Ok side note my cuticles look like dry death but I am not done with the mani and I haven't oiled and moisturizer today! Don't judge - ok you can a little bit but the finished product will be soft and smooth 😃
So the instructions are pretty basic:
- Clean your fingernails and apply a base color, let base color dry
- Remove the protective film and cut out the desired pattern.
- Put the pattern in water for 10-20 seconds
- Moisten the fingernail and stick the pattern into position
- Sop up the extra water with a paper towel
- Seal with top coat
Ok here goes nothing!

And I will say I did it wrong on the first go around! You are supposed to peel the backing off and then place the decal. This is not like a temporary tattoo.

I peeled off and it was white with the design face down! Oops! Here we are again. Onto the next nail!
Ok much better! They just slide right off the backing onto your finger and you can tweezers, or nippers or like I did an orange stick.
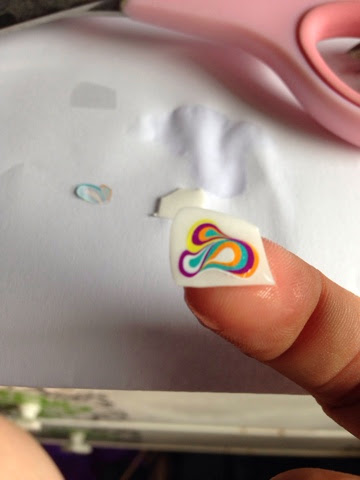


The decals are very pliable, and easy to work with once they slide off the backing. You don't have to rush and as long as your base color is dry you can even move it around. Very cool! I went ahead and added some dots after the finished product.


I really like the finished product. The base color doesn't matter to the decal whatsoever. That is definately nice because the color you see is going to be the color on the nail. This watermarble like pattern is super fun and there are additional designs in the paper so many more manis can be done. The directions lacked where you are supposed to take the back off yourself then place the decal. But once I figured out it was easy from there. They do not dry or garden up quickly while removing and placing on the nail with an orange stick which I also loved. It was nice to be able to manipulate it. If they aren't completely smoothed out over your nail or have slight wrinkles the top coat smooths that out.m evenly and quickly. I can't wait to try my other decals now!
You can get these and many other products at www.bornprettystore.com and you can use code NNG10 for 10% off your order!!
 |
| Check Out the Born Pretty Store now! |